
Whittall's Tulip
Tulipa whittallii
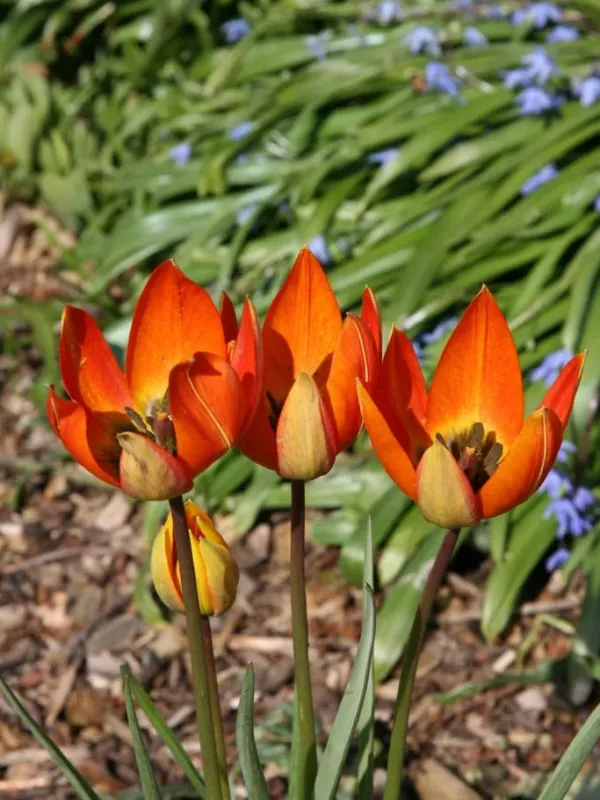
Description
Sowing dates
Planting of Tulipa whittallii bulbs should take place in autumn when soil temperatures have cooled down, typically from September to October. This timing is critical to allow roots to establish before winter freezes occur.
The planting depth should be approximately three times the diameter of the bulb. In heavy soils, incorporating sand at the bottom of the planting hole is highly recommended to improve drainage and prevent bulb rot.
Spacing between bulbs should be kept at 10–15 cm. This ensures adequate airflow around the foliage in the spring, which significantly minimizes the risk of fungal outbreaks in dense plantings.
The soil should be well-prepared, loose, and rich in organic matter. While the species is accustomed to rocky mountain soils, adding moderate amounts of compost will support vigorous growth.
Avoid areas prone to winter waterlogging. This species is native to mountainous regions where drainage is excellent, so standing water in the winter will inevitably lead to bulb loss.
Growing requirements
As a member of the Liliaceae family, this species thrives in full sun. It requires an open location that receives maximum daylight throughout the spring growing season to store energy for the following year.
Soil pH should be neutral to slightly alkaline. If your soil is acidic, amending it with garden lime is beneficial to achieve the optimal range for this specific botanical tulip.
Watering is required only during the active growth stage in spring. Once the foliage begins to wither, all watering should be strictly withheld to allow the bulbs to enter a dry, dormant phase.
The plant is adapted to a Mediterranean-style climate: cool, moist winters followed by hot, dry summers. Providing this cycle is essential for maintaining the health of the bulbs year-round.
This species is highly resilient to temperature fluctuations but requires good air circulation. It does not tolerate high humidity or stagnant, muggy conditions, which can stress the plant.
Main diseases and pests
Fungal diseases like Botrytis are the primary threat, especially in seasons with excessive spring rainfall. These pathogens attack the foliage and stems, potentially reaching the bulb if not treated.
Root bulb mites are a persistent pest that can devastate collections. Treating bulbs with a systemic fungicide and insecticide dip prior to planting is an effective preventative measure.
Tulip breaking virus (TBV) can affect the species, causing variegated streaking on the petals. There is no cure for this virus, so immediate removal of infected bulbs is mandatory for garden hygiene.
Small mammals like mice and voles are fond of tulip bulbs. Using wire mesh containers or protective netting at planting time is a standard practice to keep the bulbs safe from burrowing animals.
Regular monitoring for signs of rot or insect infestation is recommended. Maintaining a clean garden environment by removing dead foliage after flowering helps prevent long-term disease buildup.
Harvesting
Harvesting the bulbs should be done once the foliage has naturally turned brown and withered. This confirms that the bulb has finished its storage phase and is ready for dormancy.
Carefully lift the bulbs using a garden fork, ensuring you do not damage the outer skins. Clean away loose soil and discard any bulbs that appear soft, discolored, or show signs of physical damage.
Cure the bulbs in a warm, dry, and airy place out of direct sunlight for about two weeks. Proper curing is essential for hardening the outer scales and preventing dehydration during storage.
Store the bulbs in mesh bags or breathable trays in a cool, dark location. Ensure there is enough space between bulbs to prevent cross-contamination if one bulb starts to rot during the storage period.
For best results, replant the bulbs annually or every few years to prevent congestion. Overcrowded bulbs tend to produce smaller flowers and are more prone to nutrient depletion.