
Fritillaria grandiflora
Fritillaria grandiflora
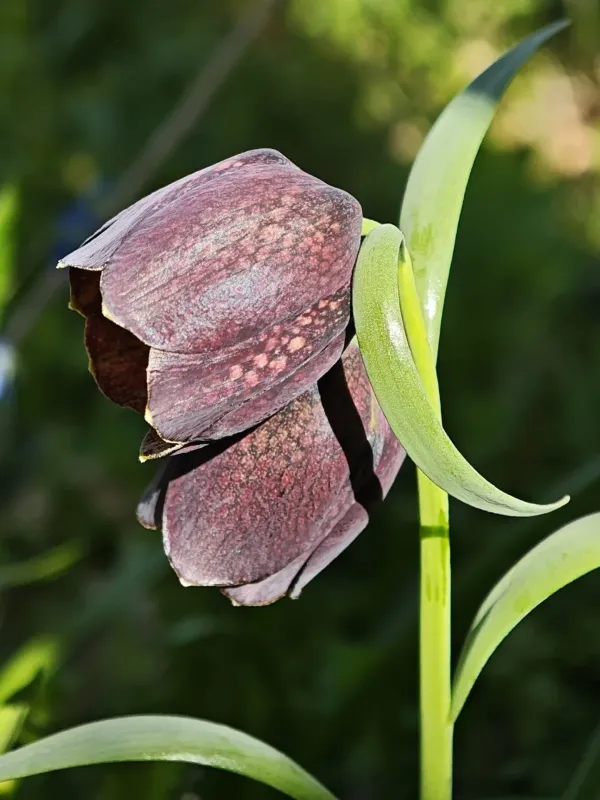
Description
Sowing dates
Planting of Fritillaria grandiflora bulbs is best performed in early autumn, typically from late August to September. This timing ensures that the root system has sufficient time to establish before the ground temperature drops significantly for the winter.
The bulbs should be planted at a depth approximately three times their own height. Planting too shallow can expose the bulbs to frost damage, while excessive depth may delay or prevent sprouting in the early spring.
It is recommended to incorporate coarse sand or gravel at the bottom of the planting hole. This practice facilitates essential drainage, as Fritillaria bulbs are highly susceptible to rotting when kept in saturated soil for extended periods.
Proper spacing between plants should be maintained at about 20–25 cm. Adequate space allows for better airflow around the foliage, reducing humidity levels and preventing common fungal diseases that thrive in cramped planting conditions.
Once planted, the soil surface should be gently firmed. In colder climates, adding a layer of mulch, such as dry leaves or pine needles, will provide an extra layer of protection against freezing temperatures during the winter months.
Growing requirements
Fritillaria grandiflora thrives in locations with full sun to partial shade. Exposure to direct morning sunlight is particularly beneficial for early development, while light afternoon shade helps maintain the quality and longevity of the flowers.
The soil must be fertile, well-draining, and rich in organic matter. Sandy loam soils are ideal, as they provide the necessary aeration for the roots while holding sufficient moisture to support the plant throughout its growing cycle.
Irrigation should be consistent during the spring growth phase but significantly reduced once the foliage begins to yellow. During the summer dormancy period, the bulbs prefer a relatively dry environment to prevent fungal proliferation.
While the species is hardy, it benefits from a stable environment without rapid temperature fluctuations. In regions with harsh winters, a consistent snow cover is sufficient, but in its absence, artificial mulching is necessary.
Nutrient management is crucial; a balanced fertilizer should be applied in early spring as soon as growth emerges. A second application of a phosphorus-rich fertilizer after flowering encourages the development of healthy bulbs for the following year.
Main diseases and pests
Botrytis, or gray mold, is one of the most common threats to this species. It manifests as dark spots on leaves and stems. To combat this, ensure proper spacing and avoid overhead watering to keep the foliage as dry as possible.
The lily beetle is a notorious pest that can rapidly defoliate the plant. Regular inspection is necessary; manual removal of larvae or application of appropriate insecticides is essential to keep the infestation from reaching critical levels.
Root rot caused by stagnant water is a silent killer. It destroys the basal plate of the bulb, making it impossible for the plant to absorb nutrients. Preventive measures focus on improving soil structure and drainage before planting.
Underground pests like wireworms and larvae of the cockchafer beetle can damage bulbs. Incorporating organic soil improvers and avoiding the use of fresh manure can help mitigate the presence of these harmful soil organisms.
Fungal infections can be minimized by disinfecting bulbs with a mild fungicide solution prior to planting. Additionally, practicing strict sanitation by removing diseased plant matter helps interrupt the lifecycle of many pathogens.