
Ornithogalum ponticum
Ornithogalum ponticum
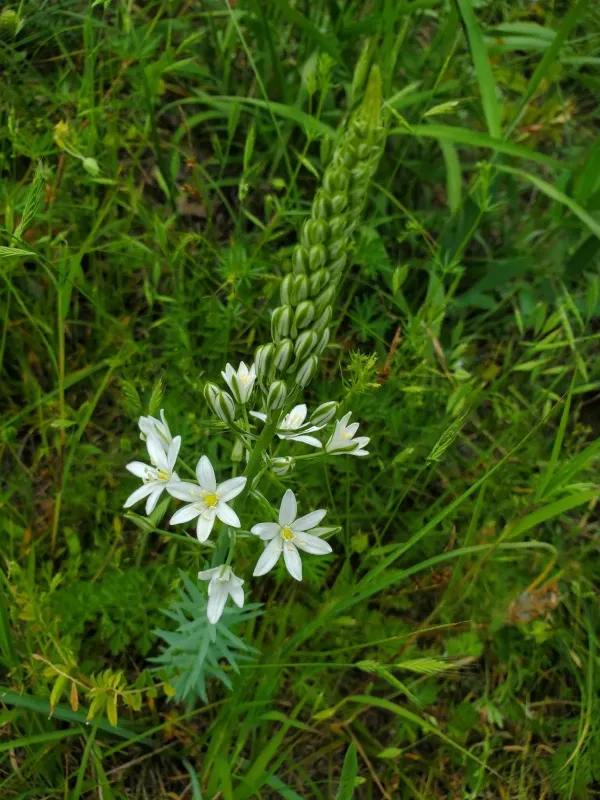
Description
Sowing dates
Planting of Ornithogalum ponticum bulbs is typically done in the autumn, several weeks before the ground freezes. This timing allows the bulb to establish a root system before the dormant period.
In colder regions, spring planting is a viable alternative provided it is done as soon as the soil becomes workable. Early planting is crucial for the bulb to settle before the heat of summer arrives.
The planting depth generally ranges between 8 and 12 centimeters, adjusted for soil type. Sandy soils permit deeper planting, while heavier soils require shallower placement to ensure proper aeration.
Maintain a spacing of at least 15–20 centimeters between plants. Proper distancing prevents overcrowding and allows each plant to access sufficient nutrients and sunlight without competing with neighbors.
Propagation can also be achieved through seeds sown in late autumn. Keep in mind that seed-grown plants require several years to reach maturity and produce their first bloom.
Growing requirements
This species thrives in sunny locations but can tolerate partial shade during the hottest parts of the day. Exposure to consistent sunlight is necessary for developing robust stems and vibrant flowers.
The soil should be well-drained and light, as Ornithogalum ponticum is highly sensitive to waterlogging. Stagnant moisture around the bulb frequently leads to rot and plant failure.
A neutral to slightly alkaline soil pH is optimal. If the soil is too acidic, applying lime is recommended to improve the growing environment and ensure efficient nutrient uptake by the roots.
While the plant is relatively drought-tolerant once established, moderate irrigation during the active growing phase is essential. Consistent moisture during bud development results in superior floral displays.
The plant demonstrates excellent hardiness and can survive cold winters without additional protection in most temperate climate zones, making it a low-maintenance choice for perennial gardens.
Main diseases and pests
Fungal diseases, including root rot and fusarium wilt, represent the primary threat to the health of the bulbs. These issues are almost exclusively associated with poor drainage and excessive moisture.
Affected plants often display yellowing foliage and stunted growth. Implementing a strict watering regime and using high-quality drainage substrates are the most effective preventive measures.
Root mites and nematodes are the most common pests that can compromise the bulb structure. These microscopic attackers damage the basal plate, facilitating the entry of secondary pathogens.
Preventive treatment involves soaking the bulbs in systemic fungicides or insecticides prior to planting. Maintaining healthy, non-compacted soil also discourages the colonization of these pests.
In the event of infestation, infested bulbs must be removed and destroyed immediately to prevent the spread of the pathogen to neighboring healthy plants within the flower bed.
Harvesting
The harvest or maintenance trimming of foliage should only occur once the leaves have turned yellow and withered naturally. This process is vital for the bulb to recover nutrients for the next season.
For those looking to divide the clusters, excavation is best performed during the summer dormancy. Carefully lift the bulbs, clean them of debris, and prepare them for storage or immediate replanting.
After lifting, allow the bulbs to dry in a shaded, well-ventilated area. Protect them from direct sunlight and extreme humidity to avoid tissue damage or premature spoilage.
Store the clean, dry bulbs in a cool environment with good air circulation until the next planting cycle. Avoid using airtight containers, as this encourages mold growth.
Regular division of the clumps every 4–5 years is recommended to sustain vigorous growth. This practice prevents the bulbs from becoming overly crowded, which eventually reduces flower production.