How to Replace the Thermostat in an Incubator Yourself
Egg incubation is a process that requires precise accuracy. The main conductor in this process is the thermostat. It is responsible for maintaining a stable temperature, and even a deviation of 0.5°C can be fatal for the embryos.
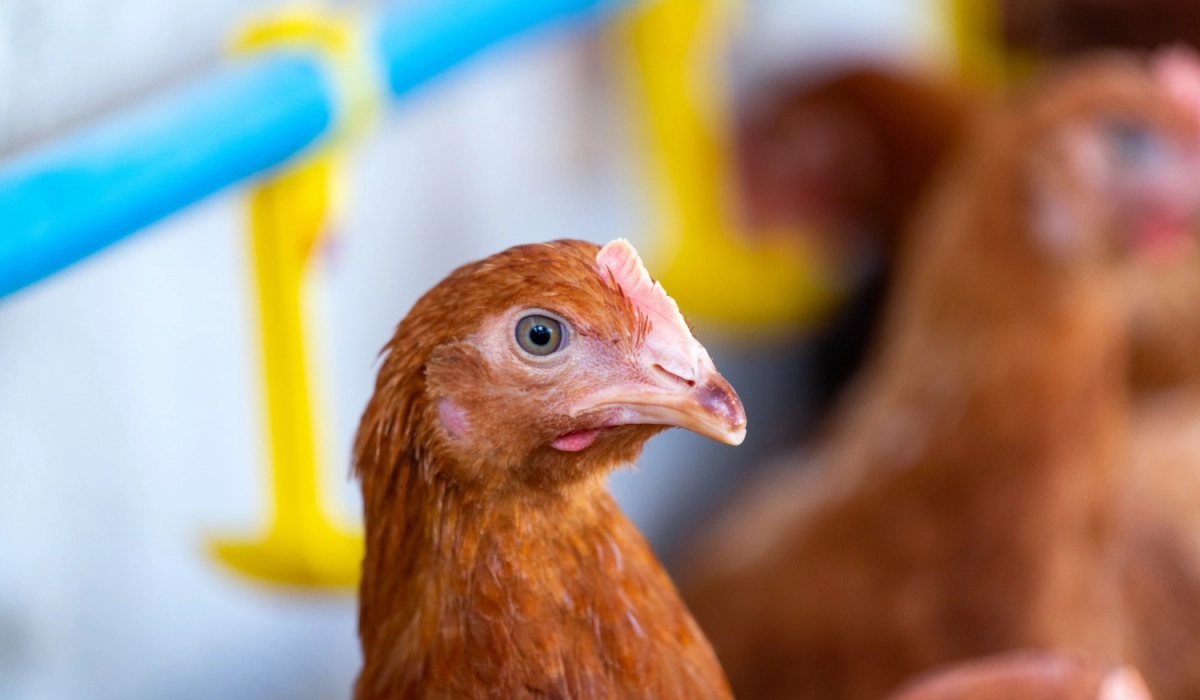
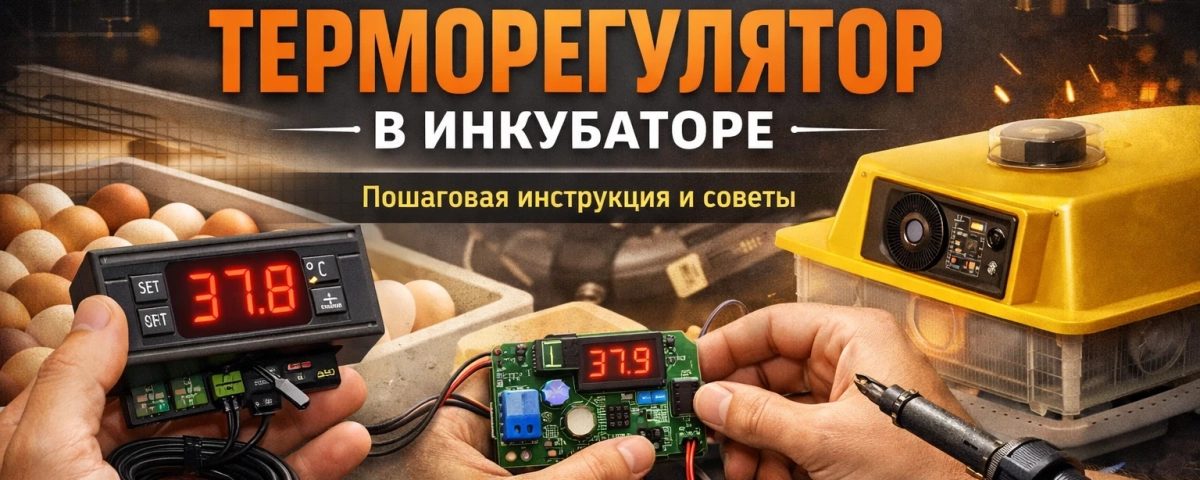
Egg incubation is a process that requires exceptional precision. The main conductor in this process is the thermostat. It is responsible for maintaining a stable temperature, and even a deviation of 0.5°C can be fatal for the embryos. Over time, standard devices may fail or stop meeting the poultry keeper’s accuracy requirements. In such a situation, the question arises: should you buy a new incubator or upgrade the old one? Replacing the thermostat is a task that is вполне manageable even for those who do not have deep knowledge of electronics.
When is replacement necessary?
Before starting the dismantling process, it is worth making sure that the problem is really in the regulator. The main signs of malfunction are:
- Temperature fluctuations. The temperature constantly jumps, and the device cannot hold it at one level.
- Relay sticking. The heater works continuously without switching off, which leads to overheating.
- No response. The device is plugged into the mains, but there is no indication, or the heating elements do not receive power.
Choosing a new device: what to pay attention to
The market offers two main types of devices: digital and analog. If you value clear readings and easy setup, it is worth paying attention to modern solutions. For example, the Kvochka TRP-1 digital thermostat for an incubator is very popular thanks to its high accuracy and reliability. The digital display allows you to monitor current readings in real time, which greatly simplifies the monitoring process.
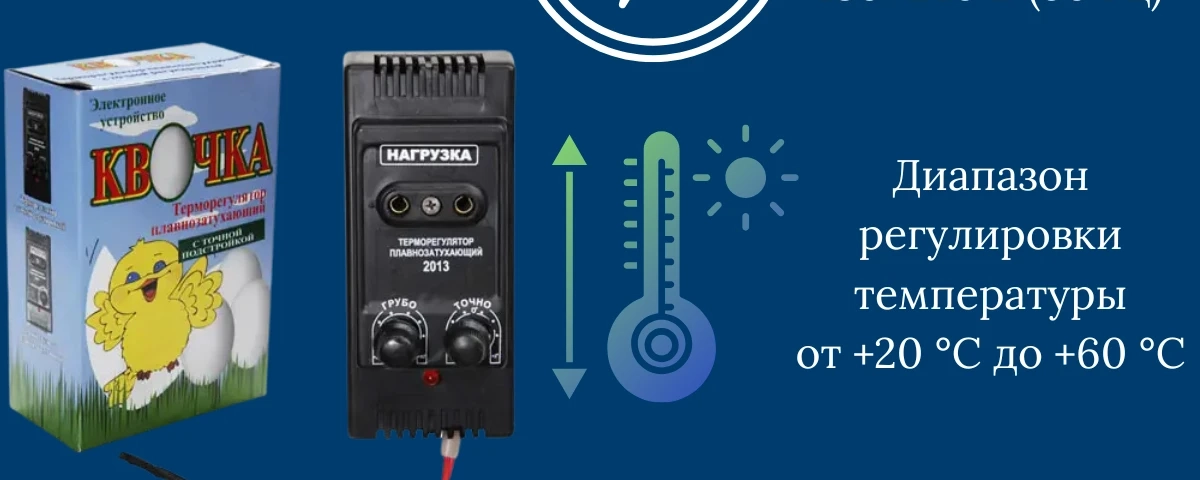
For those who prefer smoother heating control, there is another class of devices. The Kvochka-2 smooth-fading thermostat for an incubator with two adjustments https://collibri.in.ua/ru/termorehuliator-dlia-inkubatora-kvochka-2-plavnozatukhaiushchyi-z-dvoma-rehuliuvanniamy/ is an excellent choice for large incubators or models with inertial heaters. The special feature of the smooth-fading mechanism is that it does not simply switch off the power, but gradually reduces it when the required temperature is reached. The presence of two adjustments, coarse and fine, makes it possible to set the mode with minimal error.
Step-by-step replacement algorithm
For the job you will need a screwdriver, wire cutters, electrical tape or terminal blocks, as well as the new device.
- Preparation and safety
The first and most important rule is to disconnect the incubator from the power supply. Unplug it from the socket. If there are still eggs inside the incubator, move them to a warm place and wrap them beforehand, as the replacement may take from 20 to 40 minutes.
- Removing the old unit
Most household incubators have the electronics located in the upper section. Unscrew the screws holding the cover or control panel. Carefully disconnect the wires going from the heating element and the temperature sensor. If the wires are soldered, they will have to be carefully cut with wire cutters as close to the old regulator as possible.
- Connecting the new thermostat
The wiring diagram is usually indicated on the body of the device or in the manual. As a rule, the unit has three key connection points:
- Power cord, 220V input.
- Heating element, output to the heating element or lamps.
- Temperature sensor.
When using the Kvochka TRP-1 model, make sure that the temperature sensor is securely fixed. When connecting the Kvochka-2 device with two adjustments, it is important to observe polarity if this is specified by the manufacturer, although for most heating lamps this is not critical.
- Sensor placement
This is a critically important point. The tip of the sensor should be located at the level of the upper part of the eggs, but it should not touch their surface. If the sensor is too low, overheating will occur above; if it is too high, the eggs will not receive enough heat.
- Testing and calibration
After assembly, plug the incubator into the mains. Do not rush to place the eggs inside. The device should run idle for at least 3–5 hours.
- If you installed the digital TRP-1, simply set the required value on the display.
- In the case of the Kvochka-2, first use the coarse adjustment knob to get close to the required range, and then use the fine adjustment knob to bring the reading to the ideal 37.7–38.0°C.
Common mistakes
- Poor insulation. Use high-quality terminal blocks. Twisted wire connections are a fire hazard in the high-humidity conditions of an incubator.
- Sensor too close to the heater. If the sensor is placed too close to the lamps, it will switch the system off too early, while the eggs will remain cold.
- Ignoring ventilation. When replacing the electronics, make sure you have not blocked the ventilation openings necessary for air exchange.